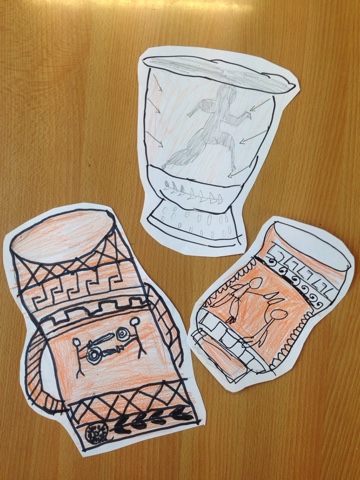
For the ancient Greeks, vases were mostly functional objects made to be used, not just admired. They used ceramic vessels in every aspect of their daily lives: for storage, carrying, mixing, serving, and drinking, and as cosmetic and perfume containers.
There are three stages to making a Greek vase so this lesson was spread across 3 days.
To make a Greek vase you will need; a plastic cup, newspaper, PVA glue mixed with water, a balloon, masking tape, orange and black paint and paintbrushes.
Stage 1
1. Blow up your balloon.
2. Cut the plastic cup and secure onto your balloon with masking tape.
3. Twist a piece of newspaper and attach with masking tape, if you desire a handle.

4. Cover your balloon with pieces of ripped up newspaper and lashings of PVA mix (you need at least 3-4 layers to make your vase solid).

5. Dry overnight before you start stage 2.
Stage 2
Children were given the research sheet below, as well as an A4 piece of paper to practice drawing Greek patterns and to sketch their proposed final design.
Children were given the research sheet below, as well as an A4 piece of paper to practice drawing Greek patterns and to sketch their proposed final design.
As some patterns are quite tricky, I created a starter sheet on squared paper...
Whilst some children drew, others painted their vases a burnt orange colour.
Yellow, red, white and brown were used so all vases had a slightly different tone.
Elaborately formed and decorated, vases were considered worthy gifts for dedication to the gods.
Stage 3
Finally, the detail was added using black paint and fine brushes.
What fantastic results!


No comments:
Post a Comment